Buttery Pie Crust
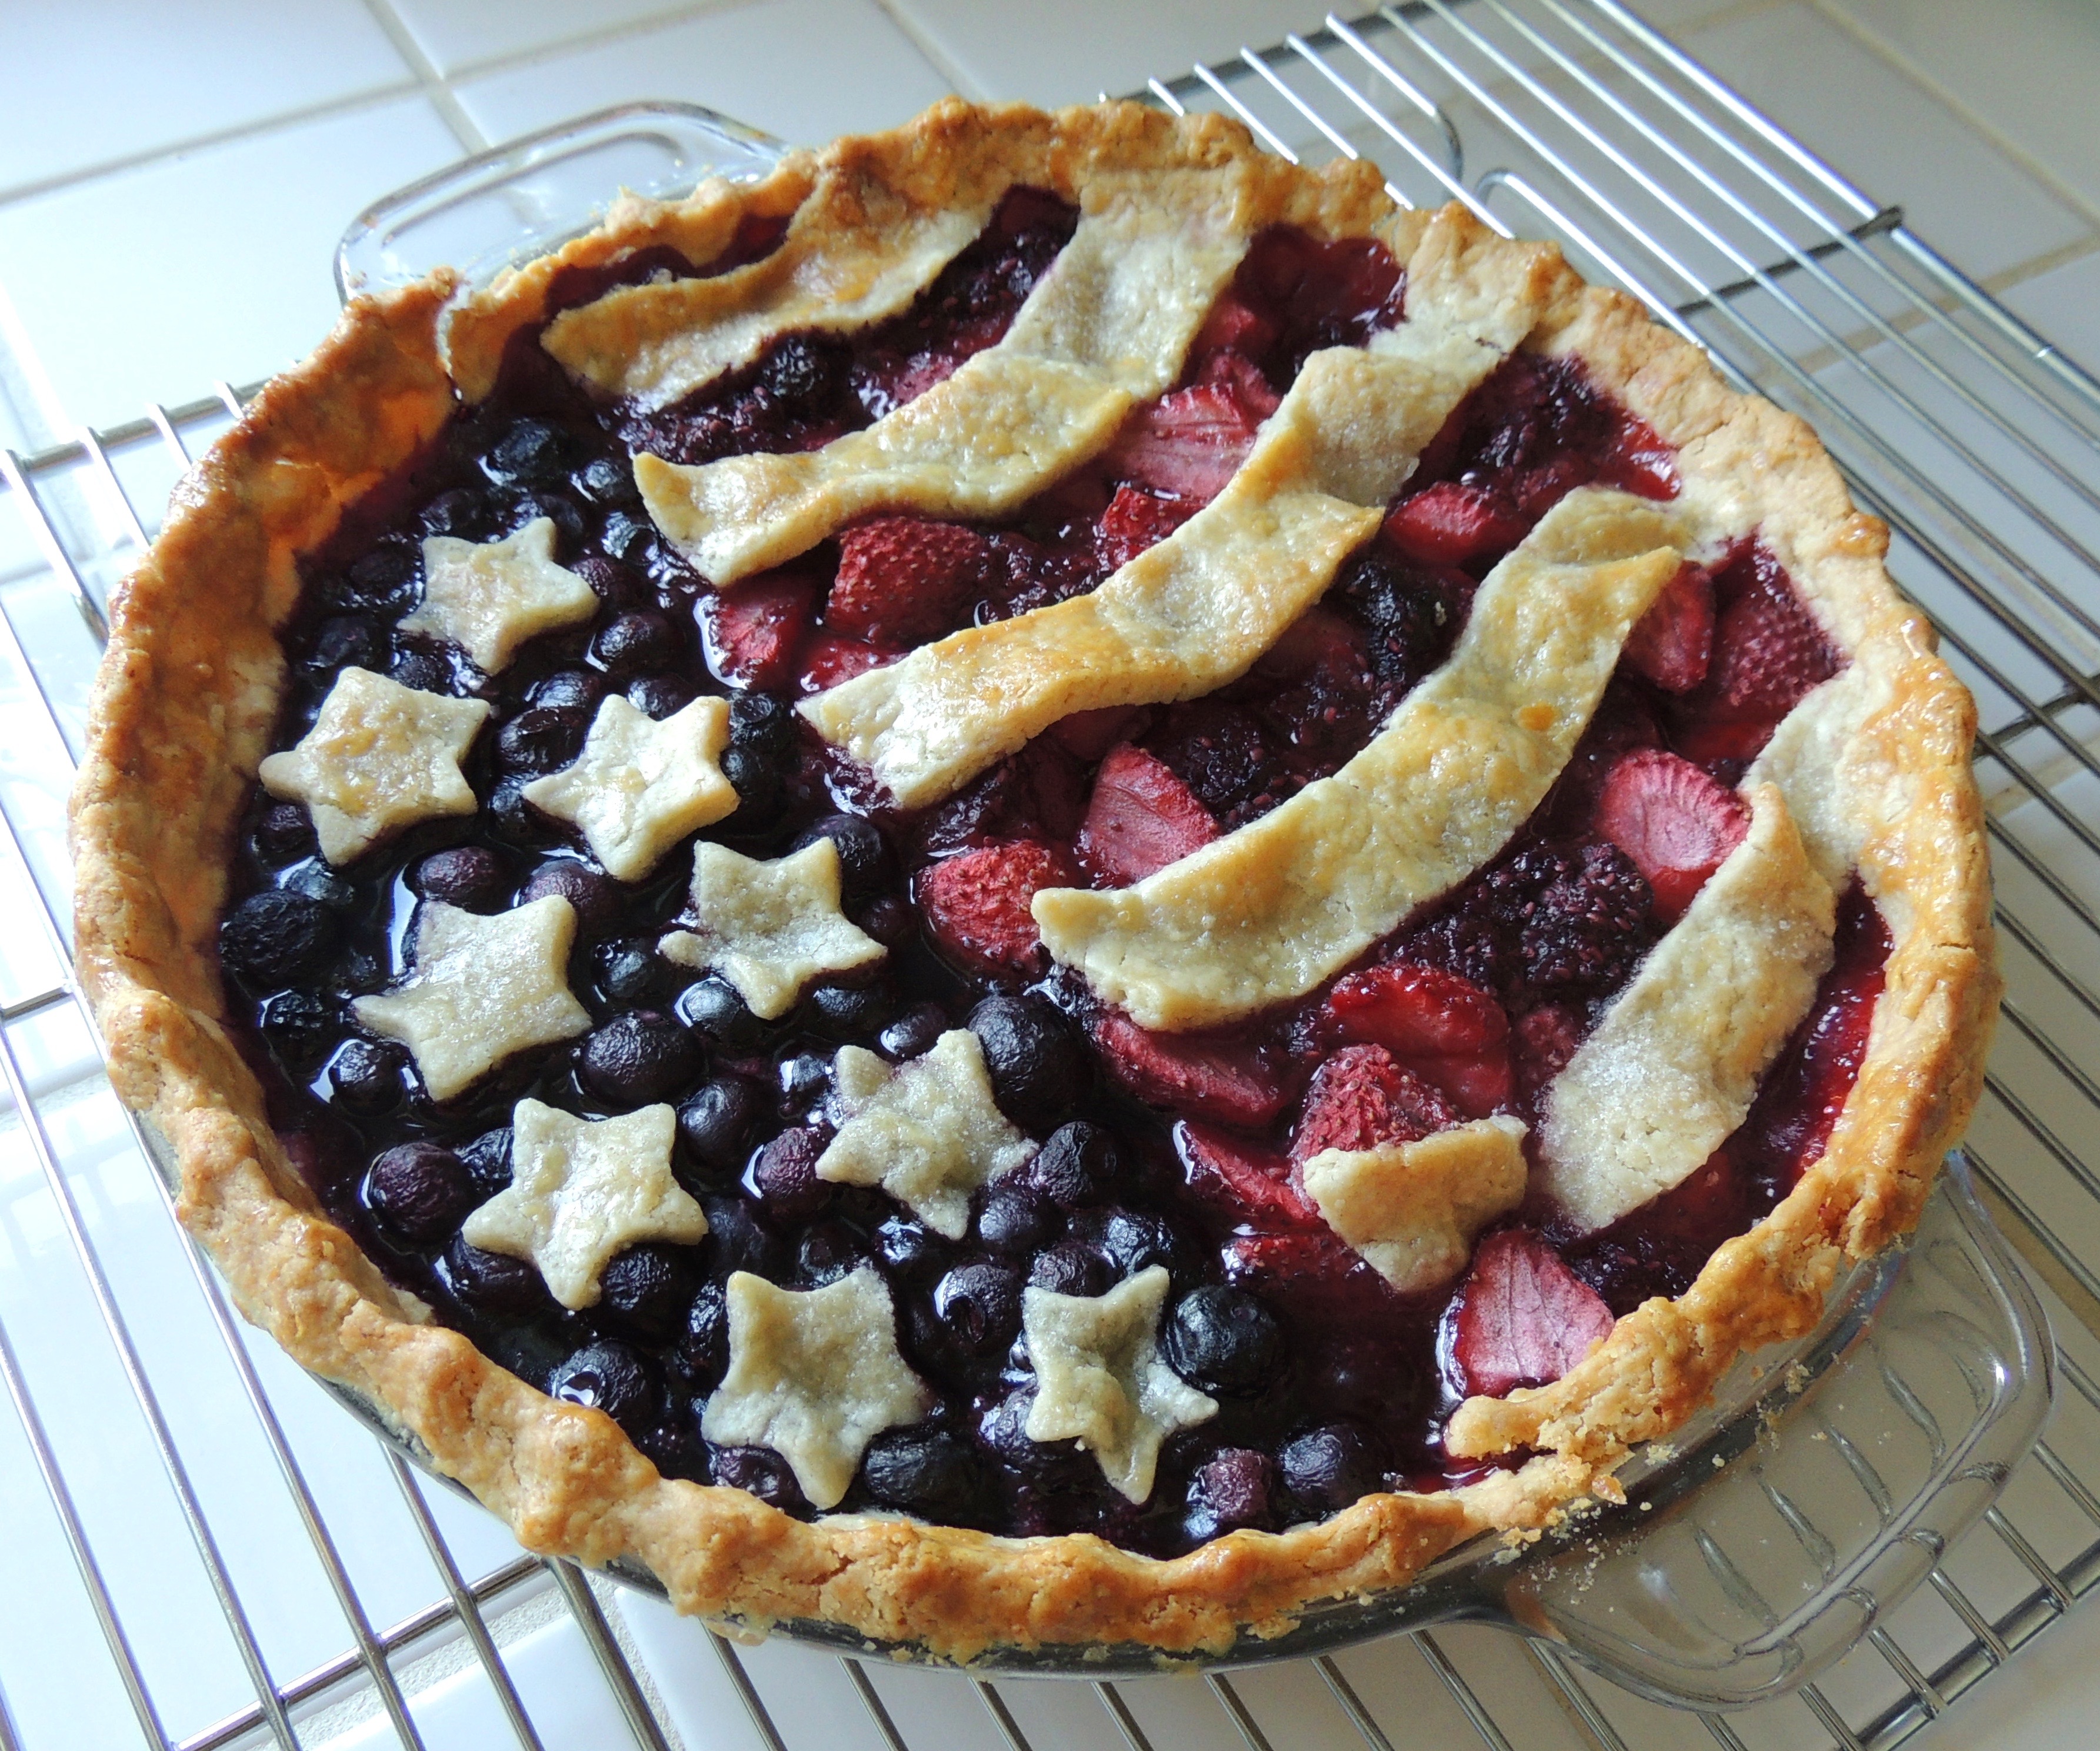
- Preparing Time: -
- Total Time: -
- Served Person: Makes enough dough for a double-crust pie
- 1 large egg
- 1/8 teaspoon salt
- 3 cups all-purpose flour
- 6 tablespoons ice water
The Secret to a Flaky, Buttery Pie Crust: A Home Baker's Tale
As a busy mom, time is my most precious ingredient. Between school runs, work deadlines, and keeping the house running smoothly, finding time for elaborate baking projects often feels like a luxury. Yet, there's something deeply satisfying about creating something from scratch, something that brings warmth and joy to my family. And what better way to do that than with a homemade pie? But let's be honest, the crust is often the most daunting part. A tough, chewy, or – worse – burnt crust can ruin an otherwise perfect pie.
That's why mastering the art of making a perfect pie crust has become a personal quest. I've experimented with countless recipes, techniques, and even a few disastrous attempts (let's just say the trash can has seen its fair share of crust casualties). Through trial and error, I've discovered the key to a flawlessly flaky, buttery pie crust lies in simplicity and precision. This isn't some elaborate, time-consuming process; rather, it's a surprisingly efficient method that even a busy mom like me can handle.
This buttery pie crust recipe is my go-to. It's incredibly versatile, suitable for both sweet and savory pies. The secret, you might ask? It's all about the ingredients and the technique. Using cold butter, ice water, and a light touch are essential. Overworking the dough is a common mistake that leads to a tough crust, so gentle handling is key. And chilling the dough is crucial— it allows the gluten to relax and the fat to solidify, resulting in a wonderfully flaky texture. Once you master this recipe, you’ll find yourself baking pies much more often!
The process itself is surprisingly straightforward. First, you combine the flour and salt. Then, using your fingertips (or a pastry cutter if you prefer), you cut in the cold butter until the mixture resembles coarse crumbs. This step is vital in creating those air pockets that produce the characteristic flakiness of a good pie crust. Next, you whisk together the egg and ice water and gently incorporate it into the butter-flour mixture. The aim is to bring the dough together without overmixing. Overworking the dough develops the gluten, leading to a tough pie crust. Once the dough comes together, you divide it, flatten it into disks, wrap it, and chill it. This chilling step is crucial; it firms up the butter, preventing it from melting during rolling, which again can result in a tough crust.
Rolling out the dough can also be tricky. I’ve found that rolling it out between two sheets of wax paper prevents sticking and makes the process much easier. Once rolled, gently transfer it to your pie plate, being careful not to tear it. Any tears can easily be patched up; it's not the end of the world. Once you’ve pressed the dough into the pie plate, trim away any excess. Repeat the process for the top crust, if you are using one. After baking, the result is a beautifully golden crust that is both flaky and tender – a perfect canvas for your delicious pie filling.
Making a pie crust might seem intimidating, especially for those new to baking. But I encourage you to give this recipe a try. It's simpler than you think, and the reward of a perfectly flaky, buttery crust is absolutely worth the effort. It’s more than just a crust; it's the foundation of a delicious memory, a taste of home, a symbol of love and care baked into every bite.
So, embrace the challenge. Roll up your sleeves, gather your ingredients, and embark on this delightful baking journey. The taste of homemade pie, with its perfectly golden and buttery crust, is a reward you won't regret. And who knows, you might just surprise yourself with your newfound baking talent.
Step-by-step
- Combine the flour and salt in a large bowl. Add the butter and mix together with your fingertips or a pastry cutter until the mixture resembles coarse meal.
- Mix the egg with the water in a small bowl. Toss the mixture gently with the butter mixture until the dough comes together; do not overwork it. Divide the dough in half. Flatten each half with the palm of your hand to form a thick disk. Wrap both disks in plastic wrap and chill in the refrigerator for at least 1 hour.
- Remove 1 disk of dough from the refrigerator. Unwrap it and roll it out on a lightly floured work surface or between 2 sheets of wax paper to form a circle about 1/8-inch thick and 2 inches larger than the pie plate. Work quickly, as the dough can become sticky.
- Use a spatula to help lift the dough and fold it loosely in half, then in quarters. Gently transfer the dough to the pie plate, placing the corner of the dough in the center of the plate. Open up the dough and press it lightly into the plate to fit. (If the dough should tear, just press it gently together.) Trim the dough, leaving a 1-inch overhang.
- Repeat the rolling process with the second disk of dough to make the top crust. The circle of the top crust should be 10 inches in diameter.



