Crispy Baked Chicken Fingers
These are great with your favorite dipping sauce or in a yummy chicken parmesan sandwich. Be creative and have fun with cooking. Another benefit of these chicken fingers is that I know they are made from fresh wholesome ingredients.
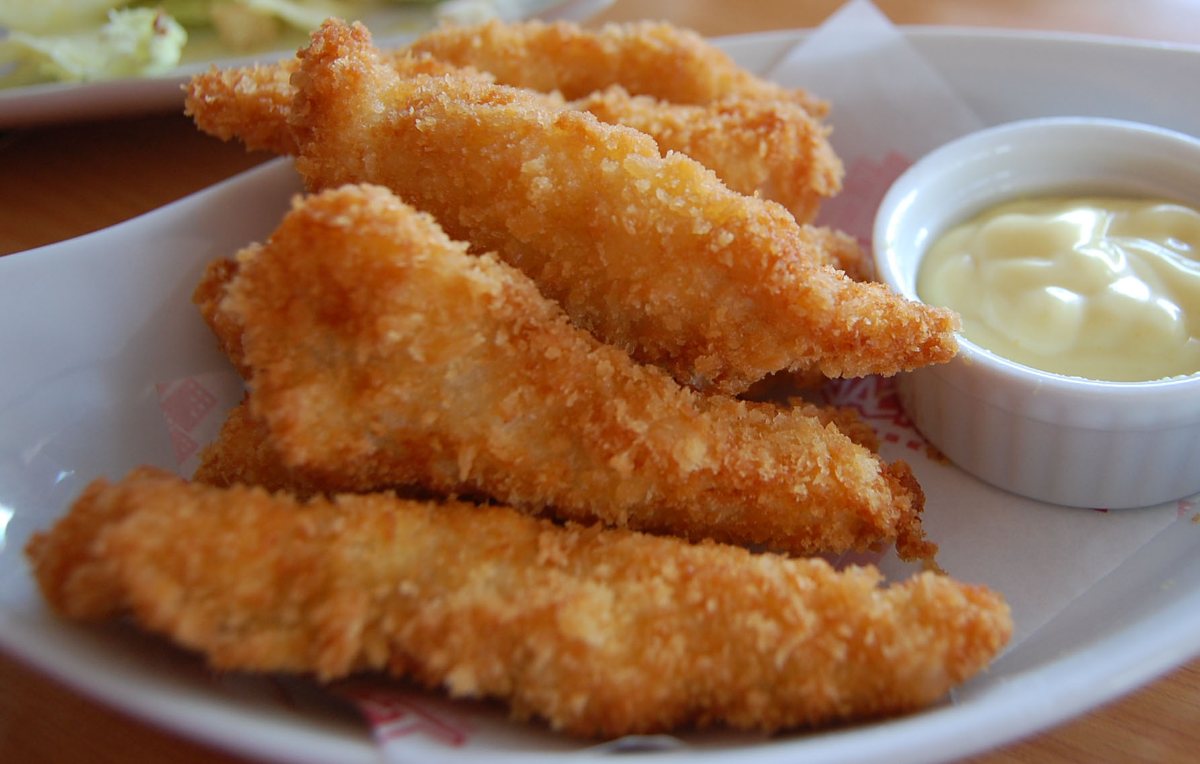
These are great with your favorite dipping sauce or in a yummy chicken parmesan sandwich. Be creative and have fun with cooking. Another benefit of these chicken fingers is that I know they are made from fresh wholesome ingredients.
- Carbohydrate 69.1684858660922 g
- Cholesterol 257.846666666667 mg
- Fat 11.8745267315285 g
- Fiber 4.37310745227231 g
- Protein 37.3055764424272 g
- Saturated Fat 3.08972044882857 g
- Serving Size 1 1 Serving (229g)
- Sodium 1397.84219871844 mg
- Sugar 64.7953784138199 g
- Trans Fat 1.66942923079036 g
- Calories 542 calories
Step-by-step
- Preheat oven to 300 degrees. Add 1/8 teaspoon salt and 1/8 teaspoon pepper to bread crumbs. Add oil and toss until crumbs are evenly coated. Spread crumbs on rimmed baking sheet and bake until golden brown and dry, about 25 minutes, stirring twice during baking time. Let cool to room temperature.
- Cut chicken into finger sized strips.
- Preheat oven to 350 degrees. Place flour, eggs, and bread crumbs in separate pie plates or shallow dishes. Season flour with 1/4 teaspoon salt and 1/8 teaspoon pepper; season bread crumbs with 1/2 teaspoon salt and 1/4 teaspoon pepper. Add mustard to eggs and whisk to combine. Dredge 1 chicken strip in flour, shaking off excess, then coat with egg mixture, allowing excess to drip off. Coat all sides of chicken breast with bread crumbs, pressing gently so that crumbs adhere. Place on wire rack set over rimmed baking sheet. Repeat flouring and breading of remaining chicken breasts.
- Bake until instant-read thermometer inserted into center of chicken (from top) registers 160 degrees, 10 to 15 minutes. Let rest 1 minute on wire rack before serving.
An audible crunch shatters the exterior surface before yielding to moist white meat inside. Achieving this specific textural contrast requires careful management of moisture and heat, two variables that routinely ruin baked coatings. Without proper technique, breaded poultry turns into a rubbery disappointment sitting in a pool of rendered steam. Three distinct technical phases govern whether the crust succeeds or fails.
Toasting the Panko Foundation
Raw Japanese panko contains too much residual moisture to brown properly in the brief window the chicken cooks. Tossing four cups of crumbs with three tablespoons of olive oil and baking them at 300 degrees for 25 minutes drives out excess water while promoting Maillard browning. Stirring the mixture twice during this process ensures even color development. Allowing the toasted crumbs to cool completely prevents them from clumping when the raw egg hits them later.The Standard Breading Station Mechanics
Effective coating relies on a dry-wet-dry sequence that locks the crust onto the meat. Dredging the chicken strips in flour creates a porous anchor layer that absorbs surface moisture. Shaking off excess flour prevents thick, gummy pockets from forming beneath the egg wash. Whisking Dijon mustard into the beaten eggs provides an emulsifier that helps the protein bond securely with the seasoned flour. Pressing the panko firmly onto the chicken guarantees maximum surface area contact, which prevents the crust from detaching during baking.Airflow and Thermal Management
Placing breaded strips directly onto a baking sheet traps steam underneath, creating a soggy bottom crust. Elevating the chicken on a wire rack set over a rimmed baking sheet allows hot oven air to circulate 360 degrees around each piece. Baking at 350 degrees until an instant-read thermometer registers 160 degrees takes between 10 and 15 minutes. Letting the meat rest for exactly one minute redistributes internal juices so they do not breach the crust upon biting. Dietary adjustments require minimal compromise. Replacing the all-purpose flour with a 1-to-1 gluten-free baking blend maintains structural integrity, while gluten-free cornflake crumbs serve as an adequate substitute for wheat-based panko if necessary.


